My decision to print locally allowed me to cycle to the printing house several times for quick meetings. It is much nicer to have one contact person to talk to and even though I would consider myself to be experienced with print products, a book project definitely is something else. With such a huge project, I had to make sure, everything goes ok. In the run-up to the printing, I had many questions.
For example, when I checked the final PDF I stumbled upon some areas that did not look well on screen. We decided to create Iris proofs of those pages as I did not want to take any risk. When the proofs arrived, I knew, it was only a matter of how the Adobe Acrobat reader displays CMYK on screen. These color space issues always drive me nuts. RGB to CMYK conversion, sRGB versus AdobeRGB, ICC profiles and soft proofing. Hell, this is a science of its own.

Additionally, I knew I had some photos in the book where I have extreme color contrast. From very dark shadows to very light highlights. To balance this out nicely, I needed help from the professionals. And this is something you cannot do nicely, if your printing house is located in a foreign country. One thing I have learned for sure: It's one thing to make the photos look good on your own computer, but another to get them right when printed on paper.
Speaking of paper, I decided to stick with the same quality paper as last time. It's a thick 170g/m² paper where photos don't shine through. Also, I wanted to have a paper that doesn't go yellow. This sounds so obvious, but I own a photo book from a large publishing house that went yellow after three years.
For a layman like me, the dimensions of printing a book are amazing. Almost four tons of paper were used during the process. And when we were finished with printing the book, the print worker told me that we used 50 kg of color.
But let's start from the beginning.
In the printing house
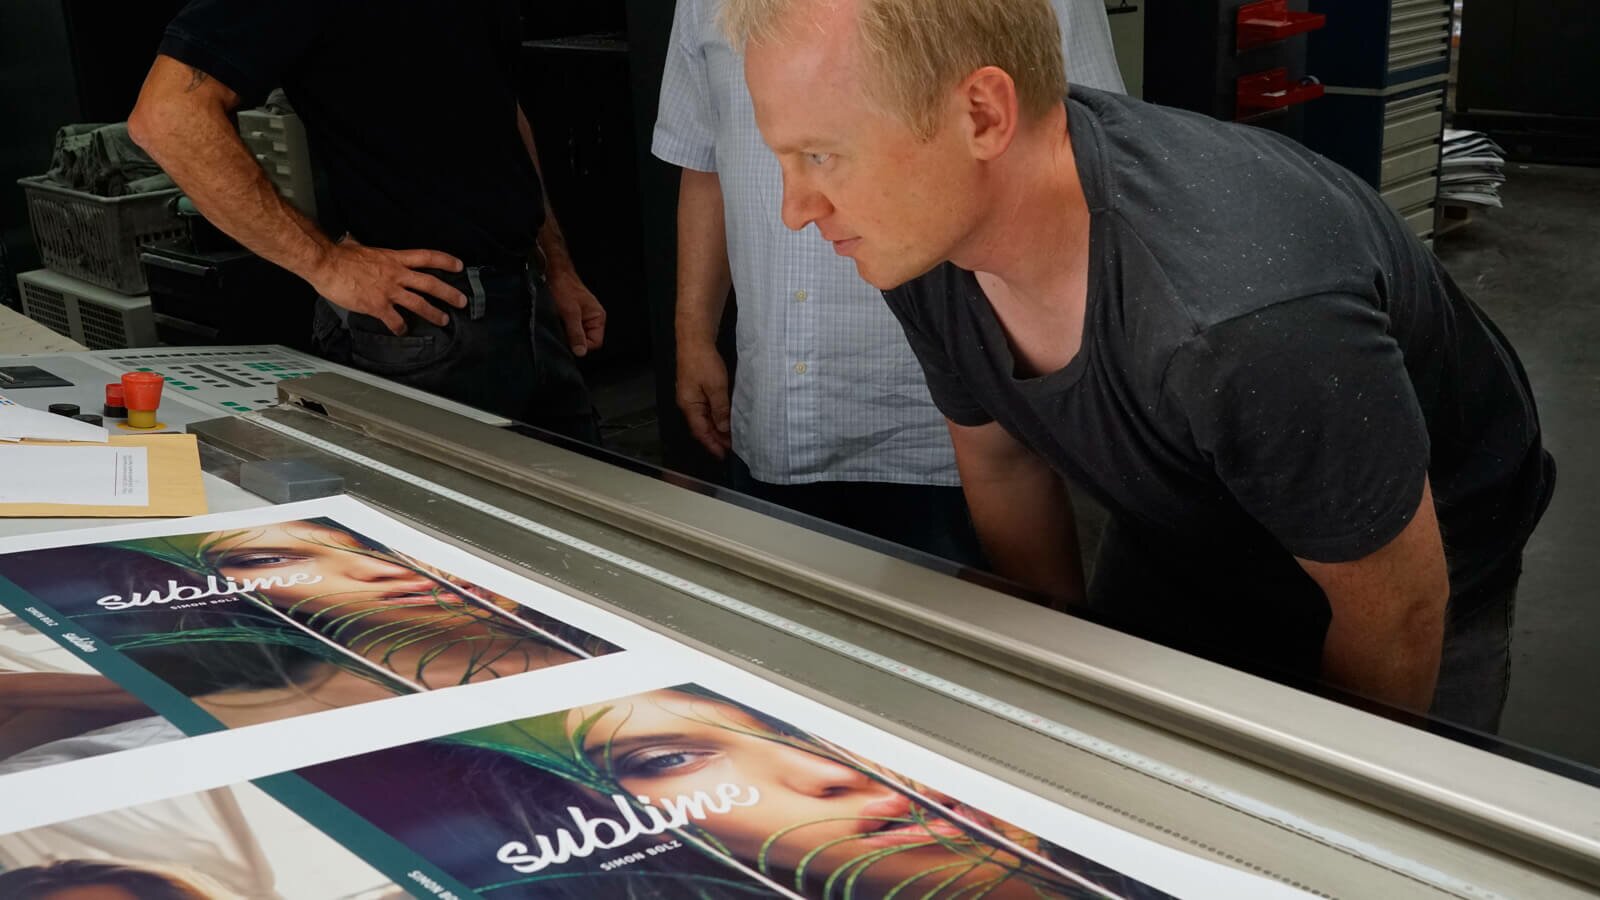
I had asked for printing with the same people as four years ago. It's a nice thing to know a team already and don't have to start building a relationship first. They knew who I was and what my work was about and valued to print it with highest precision.
The MAN Roland printing machine is about 20 meters long. As we printed sheet offset, it takes the sheets from a euro pallet and sends them inside the machine. In advance to the printing, 56 thermal positive offset plates in 7850x1030mm were produced. On each plate, there are eight pages of the book separated into one of the print colors cyan, magenta, yellow and black. This means, overall we have 52 (13 x 4) printing plates of the book sheets and 4 (1 x 4) of the cover.


Those plates are being mounted into the printing machine and then tweaked until the registration marks look congruent to each other under the loupe. Tweaking is not done digitally, it's a manual process which requires high precision. The printing machine needs around 50 sheets until the color is spread evenly on the printing plates, then the sheets that come out at the end of the machine are being taken out and checked manually.

This step is being repeated constantly during the printing, like every 100 sheets or so. Not only the registration marks are being checked, the supervising table also has an intake fan which holds the sheet while a little color pilot is sliding over the color marks at the bottom of the sheet. It measures the amount of colour that is being used and balances things for best results.
This printing process reminds me of a magicians act. Confusing but it works.
Now, what's really confusing is how the book pages are placed on the sheets. Like I said, there are eight of them on one side of the sheet. As the sheets get folded and cut later, the images are layed out in a different order than they were in the PDF that the printing house had received from me.
They showed me how the sheets get folded and cut, but to be honest, to me this looked like a magician showing a trick. Because one moment later I was still as confused as before. In the end, I figured, it's not important that I understand the process in every detail as long as they know what they're doing.

Two days later
We started at seven o'clock in the morning on day one, printing offset plate #13. Printing from the last sheet to the first one. On day two, the sheets from day one were turned on the pallets and the backsides printed onto them. We checked, double-checked, triple-checked that the pages were printed in the right direction and were put together like they should.
For this, a dummy book had been produced in the printing house where they had written page numbers on them, too. Overall, this was the part where I had the most adrenalin rushing through my body, but it turned out that everything was done correctly.

I did my best, not to stand in the way and even tried to be of use at some points, like making sure the caffeine level of the workers was ok anytime. I bow down to the print workers and from the bottom of my heart, I truly value their craftsmanship. It is amazing what those people are providing. And also to see their expertise and years of experience.
They were sometimes seeing things on a large printing sheet that I had not noticed. And I already have a highly visual perception as a photographer. Thumbs up, it was incredible to have joined the days in the printing house and to see them work.
After two full days, we called it a wrap. Uncut book sheets rested on several pallets to wait for their transport to the bookbinder. And the covers will get partially treated with UV varnish. The lettering "Sublime" will have this subtle effect, like with my last book. Then the cover will get glued to cardboard to become a hardcover.
What's next?
Bookbinding is another craftsmanship. It takes around six weeks until they will be done with it, because it is a process where a lot of manual work is involved. When you have paperback books, this step is a lot easier. But with a coffee table book like mine – due to its size – there aren't too many companies left in Germany that can do it. Luckily, there's one in the Rhine-Main area and they take care of the bookbinding now.