Diffusion filters are a popular tool in photography for softening images and adding a subtle, dreamy effect. They're especially useful for portraits, as they can help hide blemishes and give skin a soft, flattering glow. I have written about those in my blog several times already.
However, the different options available on the market can be quite expensive. Luckily, you don't have to break the bank to achieve the same effect. With a little bit of creativity and a few simple materials, you can easily make your own DIY diffusion filter.
Here's how to do it:
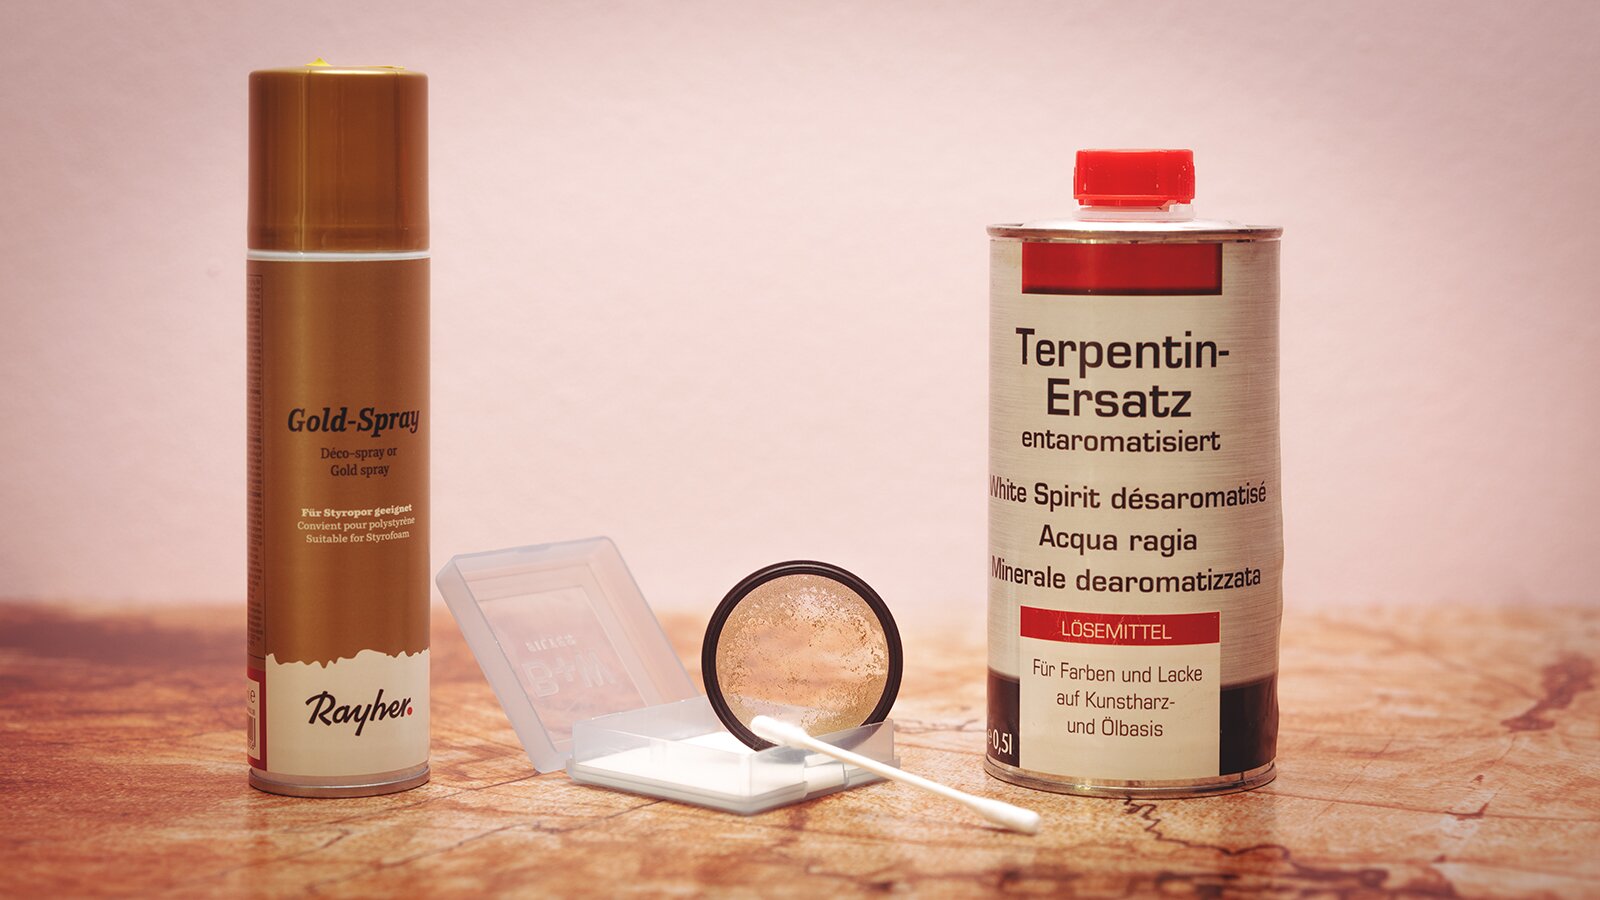
- Start with a cheap UV filter. You can find these for just a few euros online or at your local camera store.
- Spray the filter with a light coat of gold spray paint. Be sure to do this in a well-ventilated area and let the filter dry completely before handling it.
- Voilà! You now have your very own DIY diffusion filter. Simply attach it to your lens like you would any other filter and start shooting.
Of course, you can experiment with different colors and spray techniques to achieve different effects. Just be sure not to spray too much paint on the glass, to let some light through. I just washed off a bit in the middle of the filter with a Q-tip dipped in white spirit.

DIY diffusion filters allow you to achieve a unique, human look that's hard to replicate in post production.
Enough theory, let's take a look at it in practice. I compared my self-made filter with the Tiffen Glimmer Glass on my 55mm lens. See for yourself.


Let's zoom in a little.


I really can't see any weaknesses in the filter I made myself.
And even though, I am sure, fashion icon Vivien Westwood did not think about diffusion filters when she said this, I guess, her quote fits quite well in the world of us photographers (some equipped with the gear acquistion syndrome), too. So, I'll end this article with wise words:
Buy less, choose well and do it yourself!
Vivien Westwood