There are so many different ways to put grain on photos. Capture One has integrated this function with a slider. But of course I don't want to have any grain on my photos before retouching skin. And switching back and forth between Photoshop and Capture One doesn't correspond to the way I work either.
So the grain has to be applied as the last step in post production. The easiest way to do this is with a pattern adjustment layer. You basically apply a grainy pattern as endless tiles on your image.
How it works
I created a 1000 x 1000px grainy area which works as an endless pattern. You can download it here.
To apply this pattern, follow these basic steps:
- Open grain.tif in Photoshop and go to Edit > Define Pattern
- Add an Adjustment Layer > Pattern and choose the latest pattern at the bottom of the list
- Go to Layer > Layer Style > Blending Options. Set to Linear Light and reduce the effect from being applied to the white areas of your photo and create asmooth transition (Alt + Click on the left slider).
- If necessary, reduce the opacity of the pattern layer to make the effect more subtle


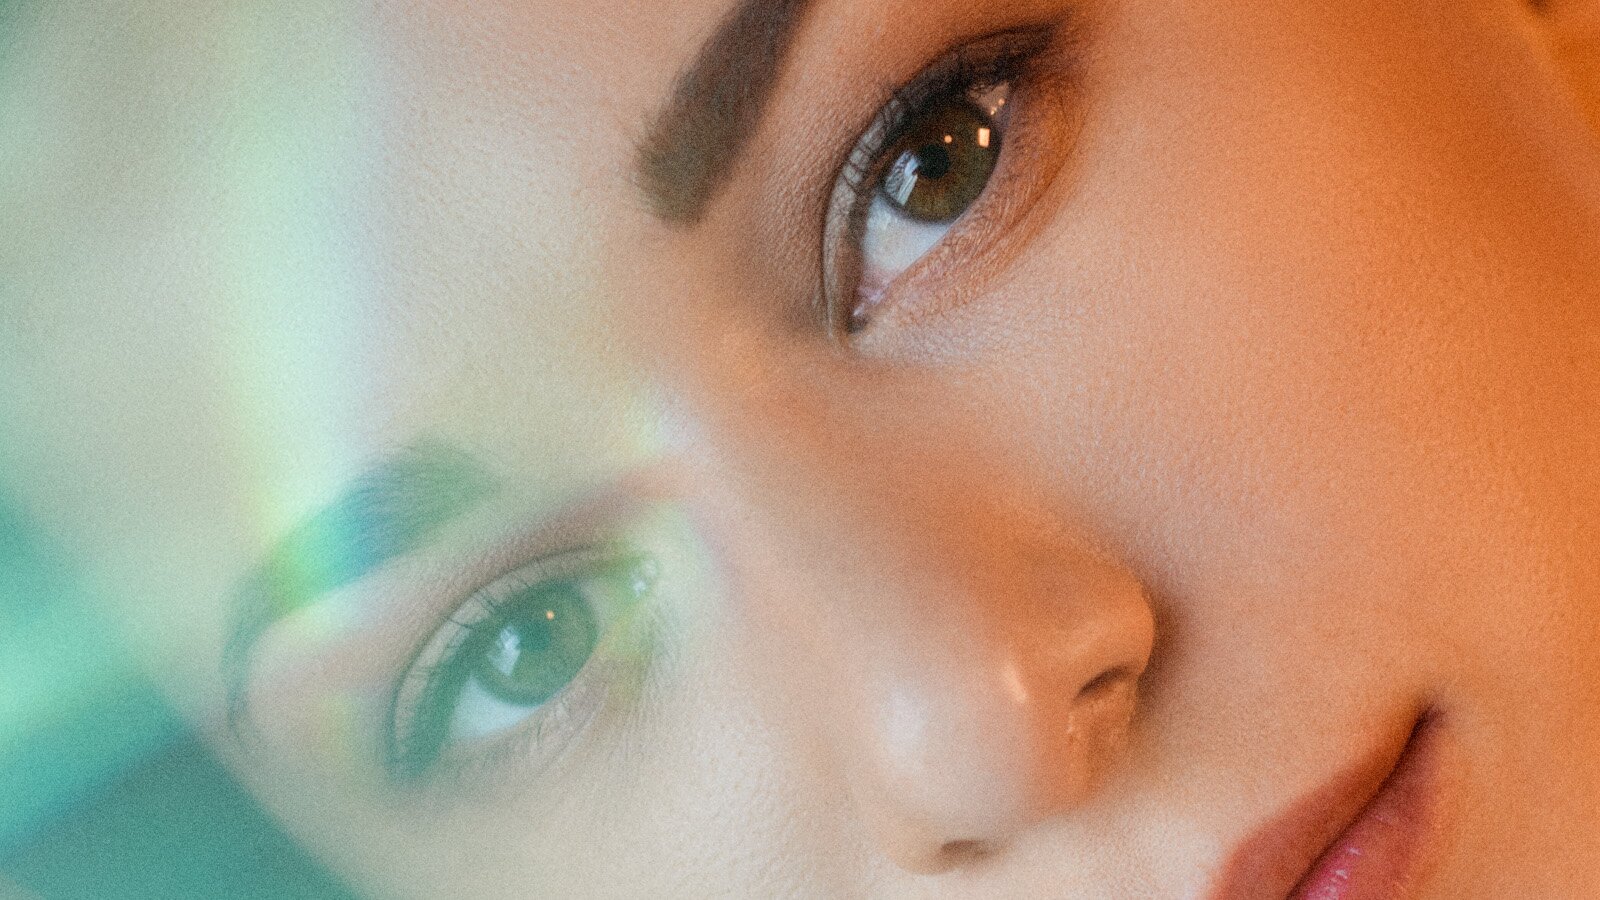
Before

After

Advantages
The advantage of doing it this way: The pattern is automatically scaled when you change the size of your image. But scaling can be adjusted at any time by double-clicking on the pattern by simply entering the desired value. For a rougher grain, you can also upscale the pattern, e.g. to 200%.
And the best part is that the pattern automatically adapts to the whole area of your photograph. Even if you enlarge the canvas.