If there is passion about photos, they have to be presented in a valuable way. I owe this to the high quality of the photograph and to the collectors of my works. That's how I think today and that's why I've now dealt intensively with how I prepare pictures for framing. Here's how I do it.
To mount a photo in a mat, it has to be slightly larger than the cutout of the passe-partout. Usually the image is 1cm wider and higher than the cutout.
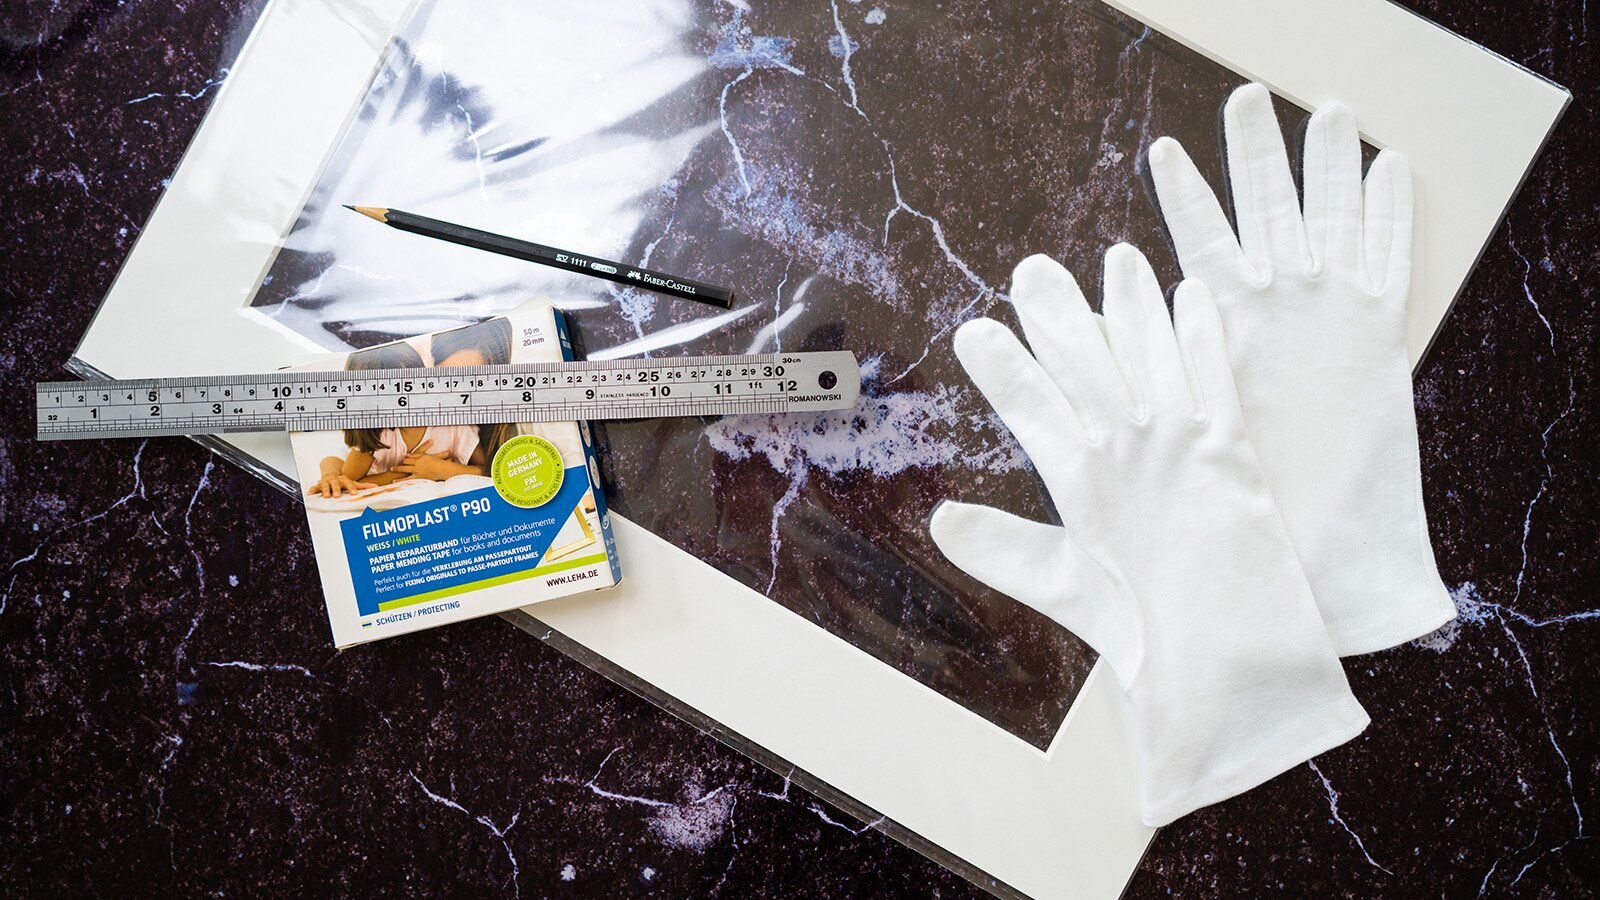
First you need the following utensils:
- High quality passe-partouts with sloping edges
- Filmoplast P90 special adhesive tape
- Pencil of hardness 2½
- Ruler
- Cotton gloves
Of course, a clean workplace is always important. In preparation I wipe the surface of the table and let it dry.
Now I turn the mat over and test whether the photo fits. Always a good idea before taping anything. It should overlap by approx. 5mm everywhere on each side and lie exactly straight.
Tape on top
Now I take two strips of Filmoplast P90 adhesive tape and carefully glue them to the upper edge. This adhesive tape is acid- and solvent-free and can be removed from the picture without leaving any residue if necessary.
Because paper is a natural material which can expand minimally with climatic changes such as fluctuating humidity or temperature, I do not stick tape on all sides, but only at the top. This means the photo hangs in the passe-partout and can expand freely if it has to.

Certificate of authenticity
I previously stuck a Herma label (also free of solvents) on the back of the motif, and provided my stamp with the numbering and my signature.

Labeling
Then comes the least enjoyable task. I write in tiny letters with a pencil on the front of the passe-partout. I put picture number, edition, title and the author in small capitals on the bottom edge. To figure out the length of the text segments I write the text on normal paper before writing on the mat, measure the lengths with my ruler and can work out where to start writing. The standard hardness level HB is a bit too soft for me, so I prefer a pencil hardness of 2½. Quite a lot of nit-picking — I know.

When I have pushed the passe-partout into the protective film, I'll breathe a sigh of relief, because the mission is completed.
Not every photo has to be in a mat, but I find the size 40x30cm in a 50x40cm passepartout in particular to be very harmonious and elegant. The picture size is not intrusive and also has room to breathe in the frame.
And for nudes this is a great compromise to fit more artworks in your hallway while not triggering a dispute with your partner.
For shipping, everything is put in bubble wrap and then covered by thick cardboard. I bought special packaging made from very sturdy cardboard. In post dispatch they can't even fold it by mistake.